 |
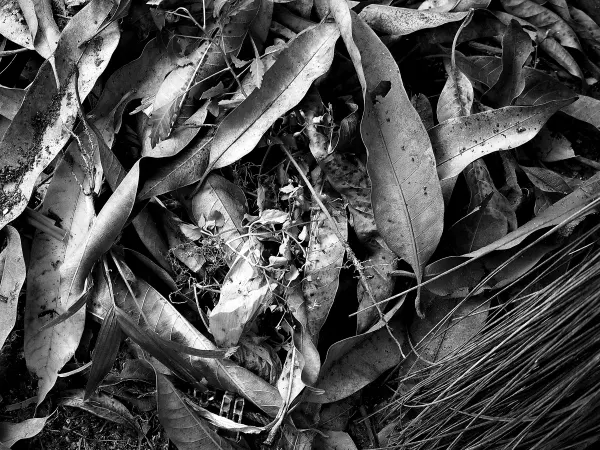
| Final image after edits with Auto Tone Correction, Tone Curve, Brightness & Contrast, and Unsharp Mask |
Post-processing monochrome or black and white images with edits in Auto Tone Correction, Tone Curve, Brightness, Contrast, and Unsharp Mask is one way to get flat washed-out monochrome images a new lease of life, one which will reflect the way a monochrome image should be presented.
You may come across this predicament if you did not take the time to set up your camera properly for monochrome shots, shoot in a high contrast situation, in flat or subdued light, or with clean whites and clean blacks.
 |
| Olympus Viewer 3 Image Edit interface |
The workflow in Image Edit mode on OV3 is fairly straightforward, and the process is non-destructive. I do mine in four quick steps using edits listed above, and simple workflow works for both JPEG and *.orf RAW files, except that with *.orf RAW files you have to add the Monochrome & Sepia edit, or Picture Mode when you are working in RAW Development Mode. Always try to always work on a copy of the original file, just in case.
Auto Tone Correction
 |
| Step 1: Image after edit with Auto Tone Correction |
The Auto Tone Correction feature automatically sets the darkest value and the highest value and then uses a slider to adjust the brightness scale of the mid-tones between the two points.
 |
| Auto Tone Correction dialog box |
This feature is useful to give a flat or under-exposed image a bit more punch. In this example, I used the Manual control to set the slider slightly lower than the automatic value.
Tone Curve
 |
| Step 2: Image after editing with Auto Tone Correction and Tone Curve |
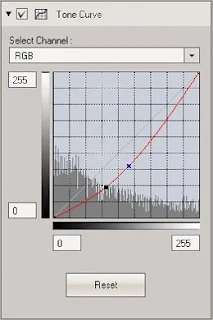
A tone curve is simply a graphical interface that allows control of the brightness and contrast of the red/green/blue (RGB) color gamut or the individual red, green, and blue channels of your image. It is represented as a straight, diagonal line that you can manipulate to change the tone. The bottom left represents the shadows, the middle represents the mid-tones and the top right represents the highlights.
 |
| Tone Curve dialog box |
The tone curve can be changed by placing the cursor on the red line and dragging it up or down from the red line. The lower left of the line is the shadow end and the upper right is the highlight end. The middle of the line represents the mid-tones.
For this image, I used a one-point drag down to slightly darken the overall tone of the image. The line can be dragged at multiple points along the line for varying results.
Brightness & Contrast
 |
| Step 3: Image after edit with Auto Tone Correction, Tone Curve, and Brightness & Contrast |
An image must have the proper brightness and contrast for easy viewing. Brightness refers to the overall lightness or darkness of the image. Contrast is the difference in brightness between objects or regions. The Brightness & Contrast adjustment lets you make simple adjustments to this tonal range of an image.
 |
| Brightness & Contrast dialog box |
Moving the brightness slider to the right increases tonal values and expands image highlights while moving it to the left decreases values and expands shadows. The contrast slider expands or shrinks the overall range of tonal values in the image.
For this image Brightness was set at -5 while contrast was upped to +30.
Unsharp Mask
 |
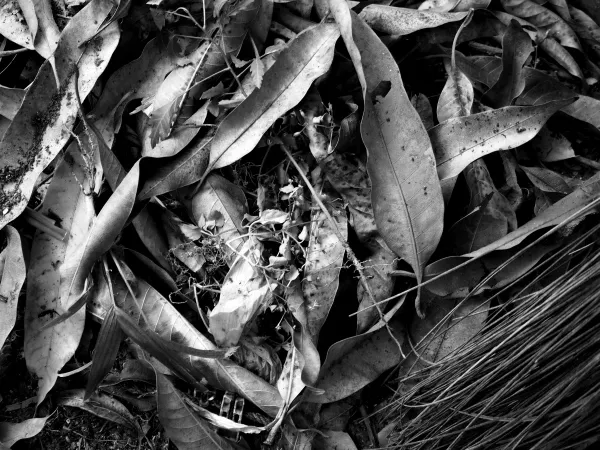
| Step 4: Image after edits with Auto Tone Correction, Tone Curve, Brightness & Contrast, and Unsharp Mask |
An Unsharp Mask is actually the feature used to sharpen an image in post-processing, probably the most common type of sharpening, and is available on nearly all image editing software including OV3. In OV3 you can use Unsharp Mask for post-processing of both JPEG and *.ORF RAW files.
 |
| The unsharp Mask dialog box |
The process works by utilizing a slightly blurred version of the original image which is then subtracted from the original to detect the presence of edges. Contrast is then selectively increased along these edges using this mask, leaving behind a sharper final image.
For this image Strength (Amount) was set to +400, Radius to +2.00, and Threshold to +5. You might want to look at this page here, or other sources on the Internet, including this, to learn more about the Unsharp Mask feature.
There you go. Your image is now ready for export.


No comments:
New comments are not allowed.