One of the main editing functions I use for enhancing images on Olympus Viewer 3 (OV3) is 'Brightness & Contrast'. The function is, however. not available on Olympus Workspace, the new image editing and post-processing software from Olympus, which now replaces OV3.
What is available on Olympus Workspace, instead, are two new edits, 'Clarity' and 'Dehaze', that are potentially the workarounds to the deprecated functions I mentioned earlier.
Wondering what are the basics of these functions, I did a look around on the Internet and found that these two functions are also available in other image editing software, in Adobe Camera Raw, for one.
Next was the trial and error approach, as I next took the opportunity to process a few samples of film scan images on Olympus Workspace with these new tools.
Worked Examples
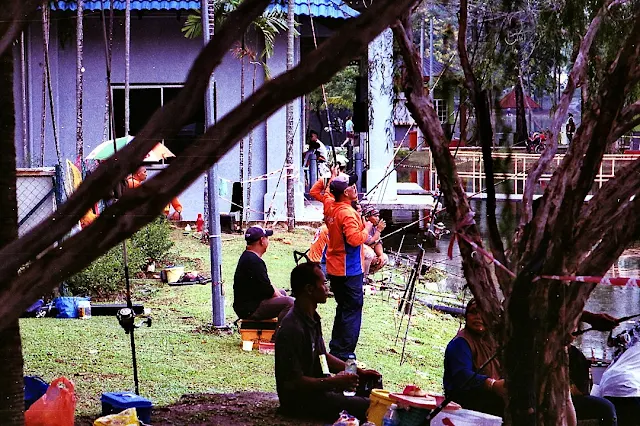
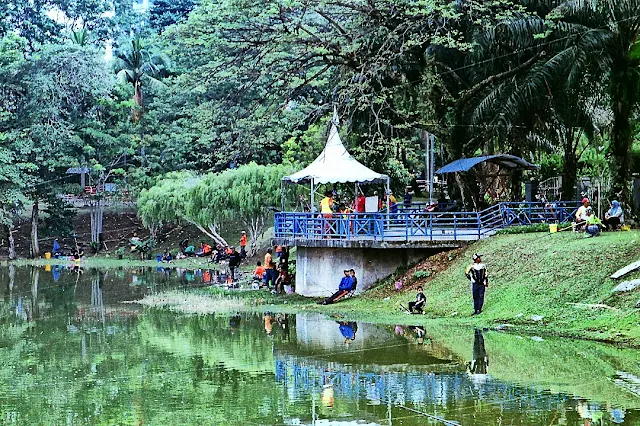
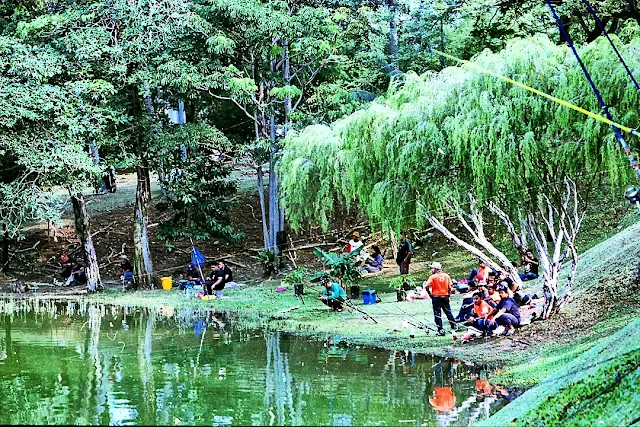
While you might be expecting to see *.ORF files for this test, I am actually using scanned film negative images from a recent fishing tournament that I was present at. These images were shot with a Pentax MZ-7 35mm AF SLR mounted with an SMC Pentax-M 100mm F2.8 lens on a roll of recently expired Kodak ColorPlus 200.
These are early morning shots on a bleak, cloudy day, with no sun, and a half-acting camera (my bad, really, for not setting up the camera correctly).
'Clarity'
What clarity does is add mid-tone contrast to the image, enhancing the image by giving it the effect of a regular contrast, with an added degree of image sharpening. It sounds like a 'Local Contrast' edit that can be found on other image editors, but in Olympus Workspace, the option is with only a single slider adjuster, not with options for Radius, Amount, Darkness, and Lightness level adjustments, or the like.
While the image may be enhanced with added clarity, you do need to keep an eye on the overall effect the function has on your image, which may need to be countered by other effects. Enhanced clarity may actually darken the overall image slightly, with the image needing a form of enlightenment to keep it realistic.
'Dehaze'
The function, dehaze, works just like it says. Dehaze reverses the effect of atmospheric light reflection on images, resulting in images that are natural and clear with enhanced contrast and color saturation.
And while you are at it, you can always give the dehaze boost a try when you are going for a gorgeous black and white image, enhancing night shots with areas of low contrast, removing the effect of condensation from your lens, reducing glare from windows, and, of course, removing haze from distant landscape shots.
Initial Setting
Since I consider these images to be rather poor, due to the circumstances of the shoot, I went for an initial set of +20 for 'Clarity' and +50 for 'Dehaze' before doing a batch file process for the whole stack of scanned images. Next was going through each of them individually for the finer edits.
On Olympus Workspace, the tweaks to these images include edits with Gradation (Auto), Clarity (initial setting at +20), Dehaze (initial setting at +50), Highlight & Shadow, Tone Curve, Contrast, Saturation, and a couple of images are with Color Filter and Unsharp Mask.
The difference, if I am on OV3, is that I will be working with Auto Tone Correction, Tone Curve, Brightness & Contrast, Hue & Saturation, Color Filter, and Unsharp Mask.
Outcome
The outcome of the exercise was most satisfying, firstly for the better understanding of the mystiques of 'Clarity' and 'Dehaze', with images that have a comparatively better 'shine' and 'volume' when compared to the same images edited with 'Brightness & Contrast' on OV3., and secondly, for the potential of the two being the most used adjectives in my post-processing workflow vocabulary.
Next - Crushing The Blacks


No comments:
Post a Comment